Showing posts with label 9 patch. Show all posts

Sunday, April 29, 2012

Quilting. The Complete Course.

So this story starts a few weeks ago. We went to Mohegan Sun in Connecticut to gamble. We each won some money playing Black Jack and then moved to the craps table. Unfortunately, Matt lost all his money, but I won almost $200! CRAZY! I started slow but cozied up to the people next to me who gave me a few tips. I have a secret - I know how to play craps. I don't know the terminology, but I know how to win. I have found (through research) that standing there and saying I don't know how to play makes the people around me give me lost of hints and tips that I don't know. And so I won a ton!!!!

Then go back a few more days before that. I finished my quilting class, Adventures in Quilting. And that week we were in Connecticut, I finished sewing on the binding. It is officially done. And Joyce (my teacher) suggested that if we wanted to take another class we should take the Complete Course. It is a sampler quilt. It has 13 blocks and 4 large border pieces. Each of the blocks is different and practices a different skill. I wanted to sign up for this course. I wanted it a lot. But it was a lot more expensive than Adventures in Quilting was. So much more money.

So put the whole thing together. I won money. The course cost money... It is like it was meant to be! So I took my winnings and registered for that course and here we are two weeks into the course and I have pictures to share with you.

Week 1. We talked about supplies and the how-to's of cutting. We talked about the grain and bias of the fabric. I knew some of this information from the books I have and the previous course. But there was a lot of info that was new to me. The biggest tip for me was so stupid. Annette (my new teacher) said something so smart and filled with common sense: measure after each cut and after each seam.

Week 2. We started sewing. Each of our machines got a once over by Annette to make sure we were ready to go. Then we practiced. For homework we cut 1.5 x 6 inch strips (from some hideous fabric that was provided to us - gross) and practiced sewing them with 1/4 inch seams. And here is where we measured to make sure we were accurate. I WAS! I high-fived my fabric. Is that weird?  I didn't think so either.

Then we worked on a sample 9 patch. Now I made twenty 9 patches for the last quilt. I can make those in my sleep. But this time I applied the new tip: MEASURE! For this quilt all our squares should be 9.5 inches square. So I measured again and I was sooooo accurate!


Homework this week? Two squares.
So let's start my quilt. Want to see my fabrics? Annette told us to pick a focus fabric and then 5-6 fat quarters. I expect to buy more fabric later. It just seems inevitable. But these are the fabrics I have so far.
The jacks are my focus fabric. I love them. I have been stalking them in the store for the last 5 weeks. Every time I went to the store I went over and talked to them. I pet them. I was that weird lady. But I loved them. I just didn't have a reason to purchase them. Until this class. I even tried avoiding them for a while before realizing that we were meant to be together. I even bought 3 other fabrics (the reds and polka dots) from the same line because we were meant for each other. I had the two smaller grays, the green leaves, and blue flowers. I bought the large gray daisies again. They were in the Adventures quilt too.

So two squares done!
First I made my 9 patch. And I measured it! Awesome and accurate! So much better than the other quilts!


Then my 2 by 2. This was new to me. YAY! I started by making 2 strip sets. I cut my fabric to the desired width and length. And sewed them together. Measure again. Here I had to take one apart and put it back together. I had not sewn it consistently. Once I had it right, I cut the strips into 5 inch squares. Then I put them together. I tried them two ways - the cream spiral or the green spiral. The green was soooo overwhelming visually. So I went with the cream spiral. This was so easy to make. I took four 5 inch squares and rotated them. Taadah! I did it! And I measured it. And it worked! Thank goodness I measured after every step. If I hadn't redone the strip sets, my finished square would not have worked out at all. It would not have been square.


Now, I am honest. I don't like to sugar coat it. I am not loving this course yet. I say yet because it is still early in the course, and so far we have done things that I know how to do. I am excited about some of the upcoming weeks. But so far. Not so much. Maybe soon. Hopefully soon.

Tuesday, March 20, 2012

Adventures in Quilt Making, Part 2 - Triangles

Last week, I learned how to make triangles, the right way. Which also happens to be the way I made them a few weeks ago!

So part 2 of the quilt I am making went like this.
I have 3/8 yard of two fabrics. From each I cut two strips. The first was 5 1/2 inches, and the second 5 3/4. I put the 5 3/4 strip aside.
Then I cut the 5 1/2 strips from both fabrics into 5 1/2 inch squares.


I drew a diagonal line down the center of the flower fabric. I placed right sides together and sewed down both sides of the line. Then lined up my ruler on the sewn line and cut. Because I made 1/4 inch seams, lining the ruler up on the sewn line put the edge on the line I drew.


Because there is a cut on the diagonal (bias) you have to careful about how you press it. If you press it like it is normal fabric, it will distort the fabric. So I pressed up then over towards the darker fabric.

Do you see the ears? There is one at the bottom of this picture. Those have to go. But I also had to make sure that my 9 patch and triangles were the same size.  If they aren't exact my whole quilt will be off.


In fact, we made our triangles over sized on purpose. It is easier to trim triangles than 9 patch (because you have to trim a little off each side to keep them even).

So I measured my 9 patch, then trimmed the triangles to match. When lining up the triangles, use the diagonal line as your straight edge. Then trim the edges. If you line up the edges instead of the diagonal, they won't be true triangles anymore.


Now it is time for some quilt assembly! This is the part I was really looking forward to! Now you can see what the final product will look like!!!! Oh this is soooo exciting!


Quilts are made of odd numbered rows. This way they are symmetrical. My homework this week was to assemble the odd-numbered rows.


I wanted to chain piece them again, but this proved a little more difficult than I thought. I completely botched my first attempt and had no idea what I had sewn together. Thankfully, they were all pairs and I found each a home. The second, third, and fourth rows went together without much incident.


So important things? From the 9 Patch, make sure your spines are vertical. When you sew them together you can control seam buildup and manipulate them if they are not already sewn down.
Also, press towards the 9 Patch. Pick a direction and go with it. Always. For the rest of the quilt. Be consistent.

So we have two options right now. With all the odd-numbered rows created, we can decide which fabric will be the center, light or dark gray.  Isn't it amazing how much different they look? The only difference is where I placed each row. So what do you think? Light center? or dark center?


Sunday, March 11, 2012

Adventures in Quilt Making, Part 1 - 9 Patch

I started taking a quilting class last Wednesday! On my way to class, I called my Mom and chatted and squeaked like a school girl. I was beyond excited!I got there 15 minutes early - and I wasn't the first one there!

So I am taking a class called "Adventures in Quilt Making" at Capital Quilts. It is a 4 week course with homework. This week I learned sooooooooo much! And here are the instructions for making a 5 inch 9 patch.

First - clean cutting. So I ironed my fabric without going over the crease. Makes sense. To clean cut (so you have a straight cut) I lined the fabric to the ruler and cut off the extra fabric. See how the the edge is straight in that picture?

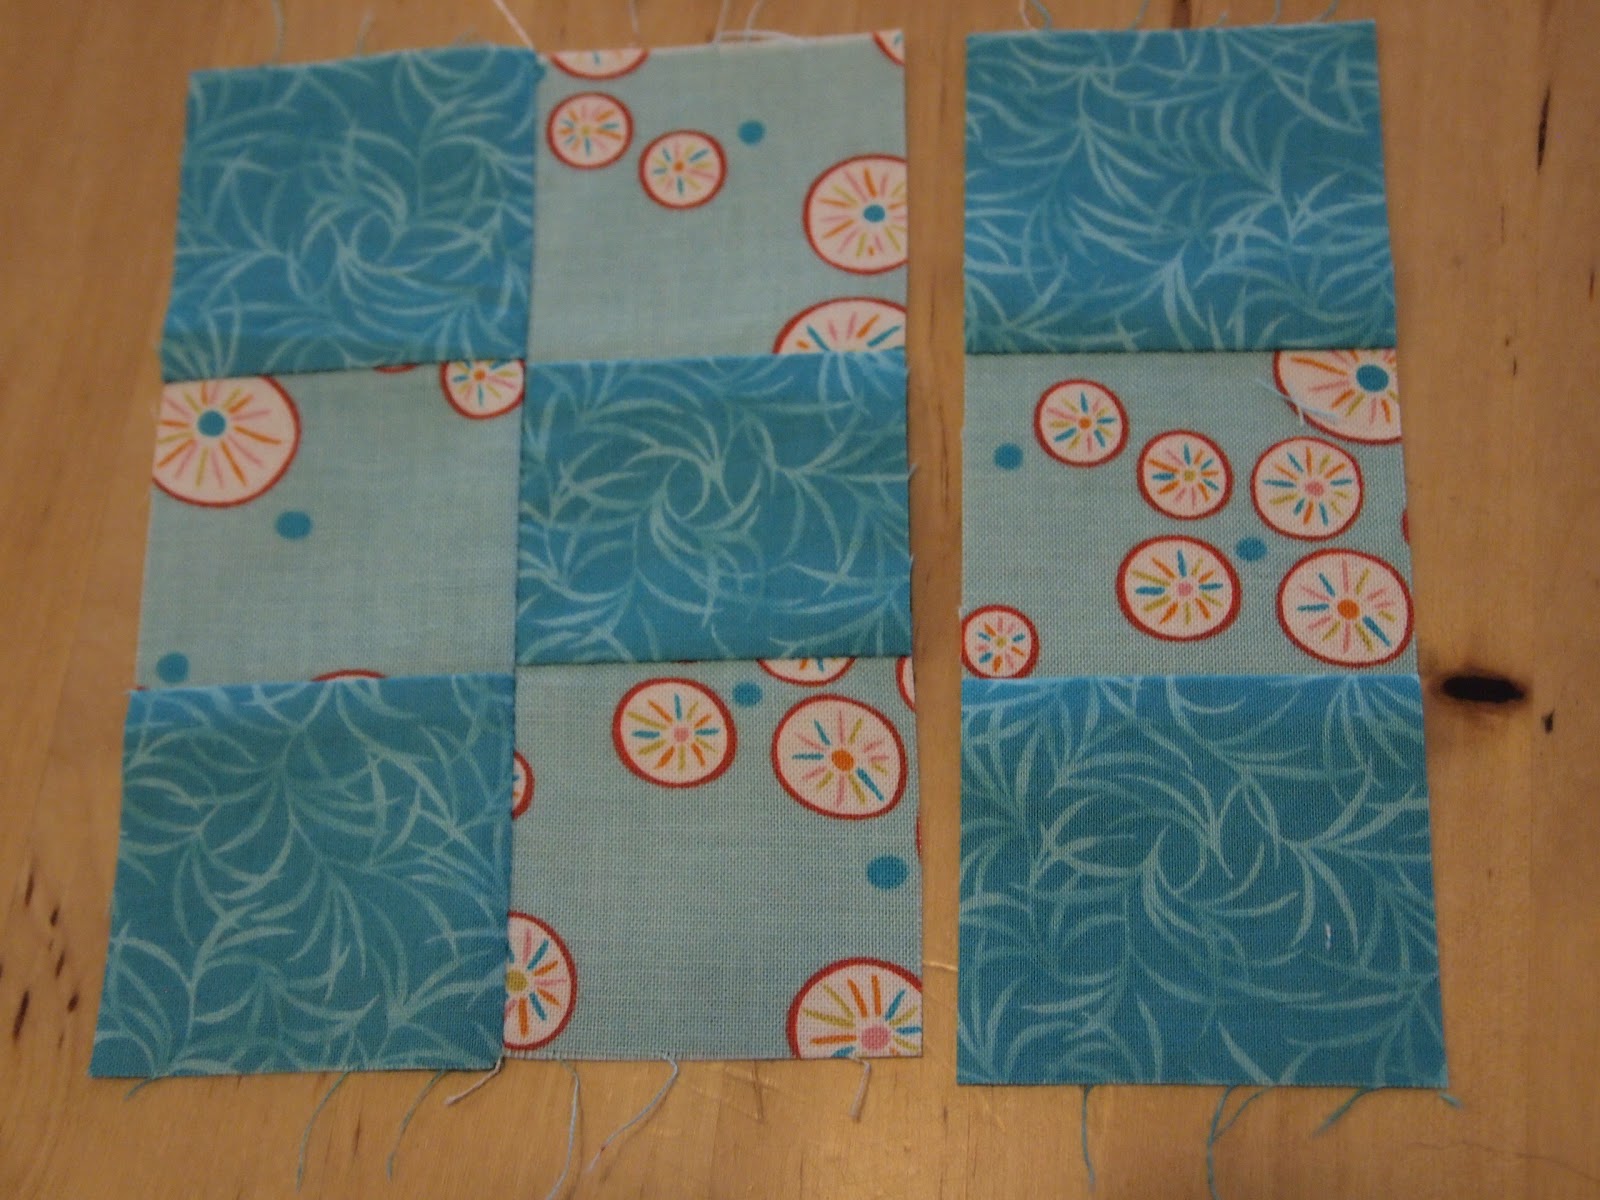
Second - I cut my two fabrics into 2 inch strips. I needed 8 strips of the blue leaves and 7 of the blue circles. Then I needed to sew them together. I made 3 sets of strips with blue leaves on the outside, and two with the circles on the outside. I pressed all my seams towards the leaves. Tell you why later.


Third - I cut them again. And into 2 inch strips. There is a theme here. I needed a total of 48 strips with leaves on the outside and 24 with circles on the outside. Then I started sewing them together. I chain sewed them; meaning that I didn't cut them in between each pair.


Again I pressed towards the blue leaves - in this case, towards the outside. I pressed out so that the seams would all nest together and keep the bulk of the seams smaller. Then I started attached the other side. Making my 9 patch.

 My homework this week - to make 24.  In 4 hours, I was able to do all the above and finish 14 9 patches. I have everything cut and partially pieced for 20.  I still need to cut 3 more and then piece everything together.